July 30, 2011

Newsie Bits


Ok folks!  Gather round and listen up because I'm thinking about changing things up a bit here and I need your help.  A couple of months ago I put a poll on my sidebar and asked what you all liked best about the blog.  Correct me if I am wrong.
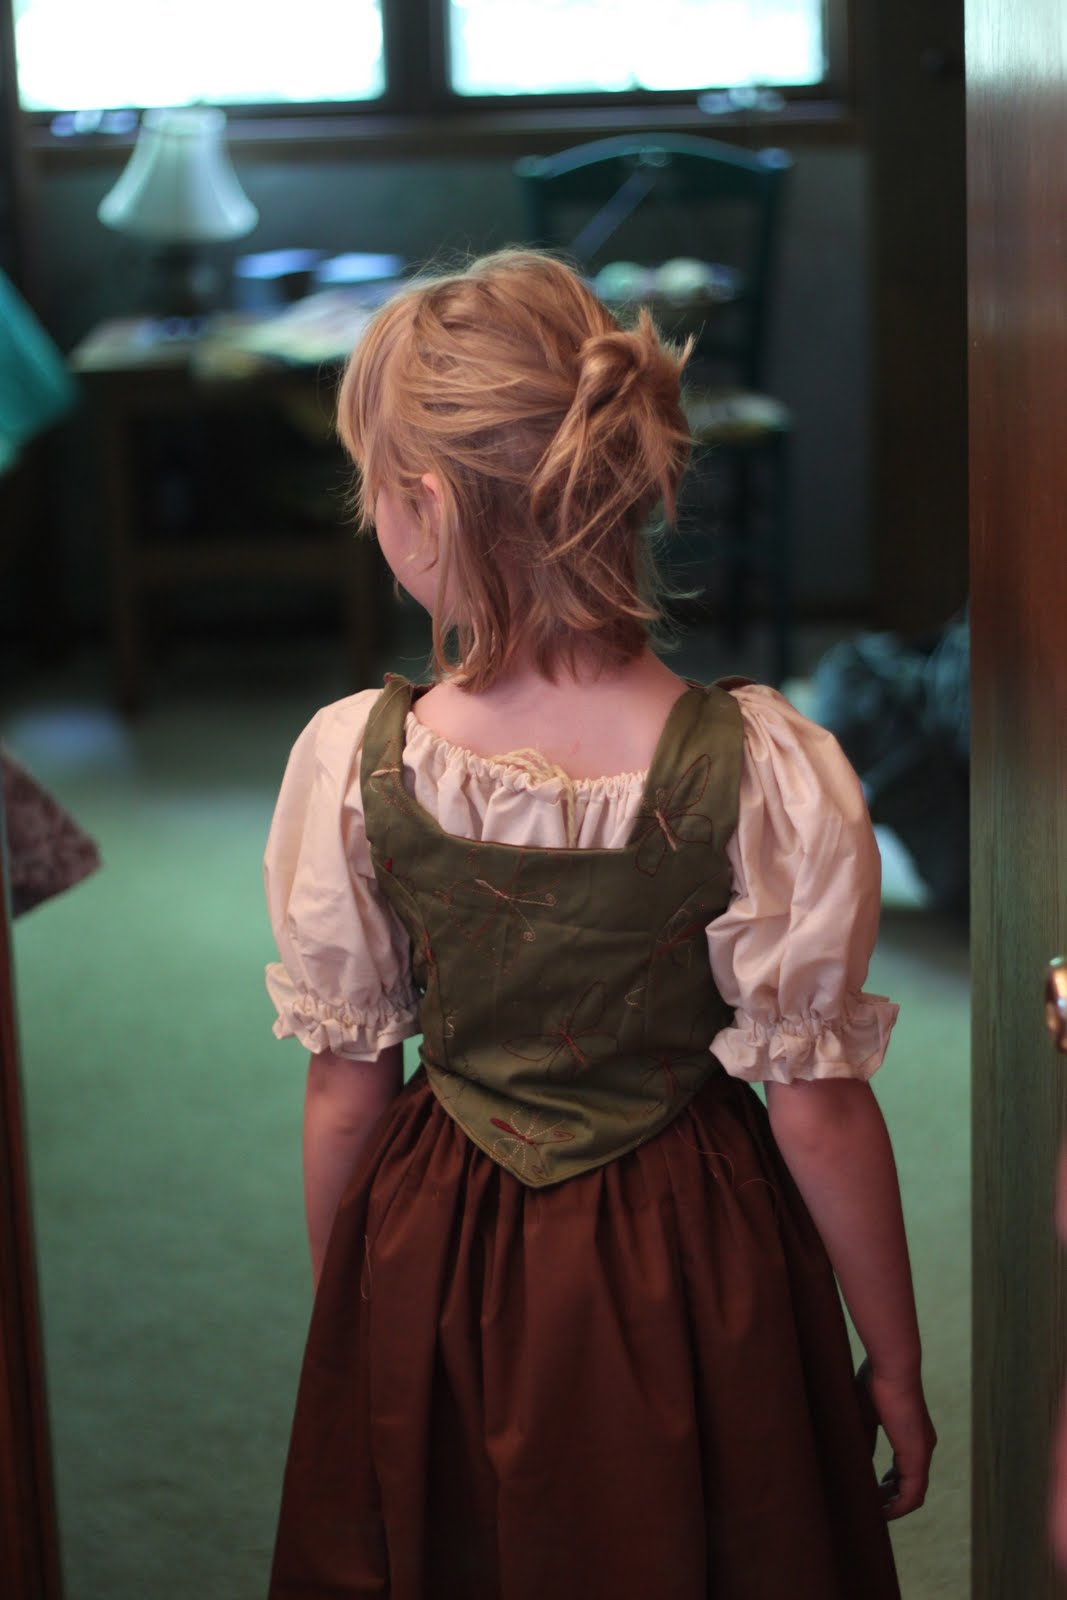
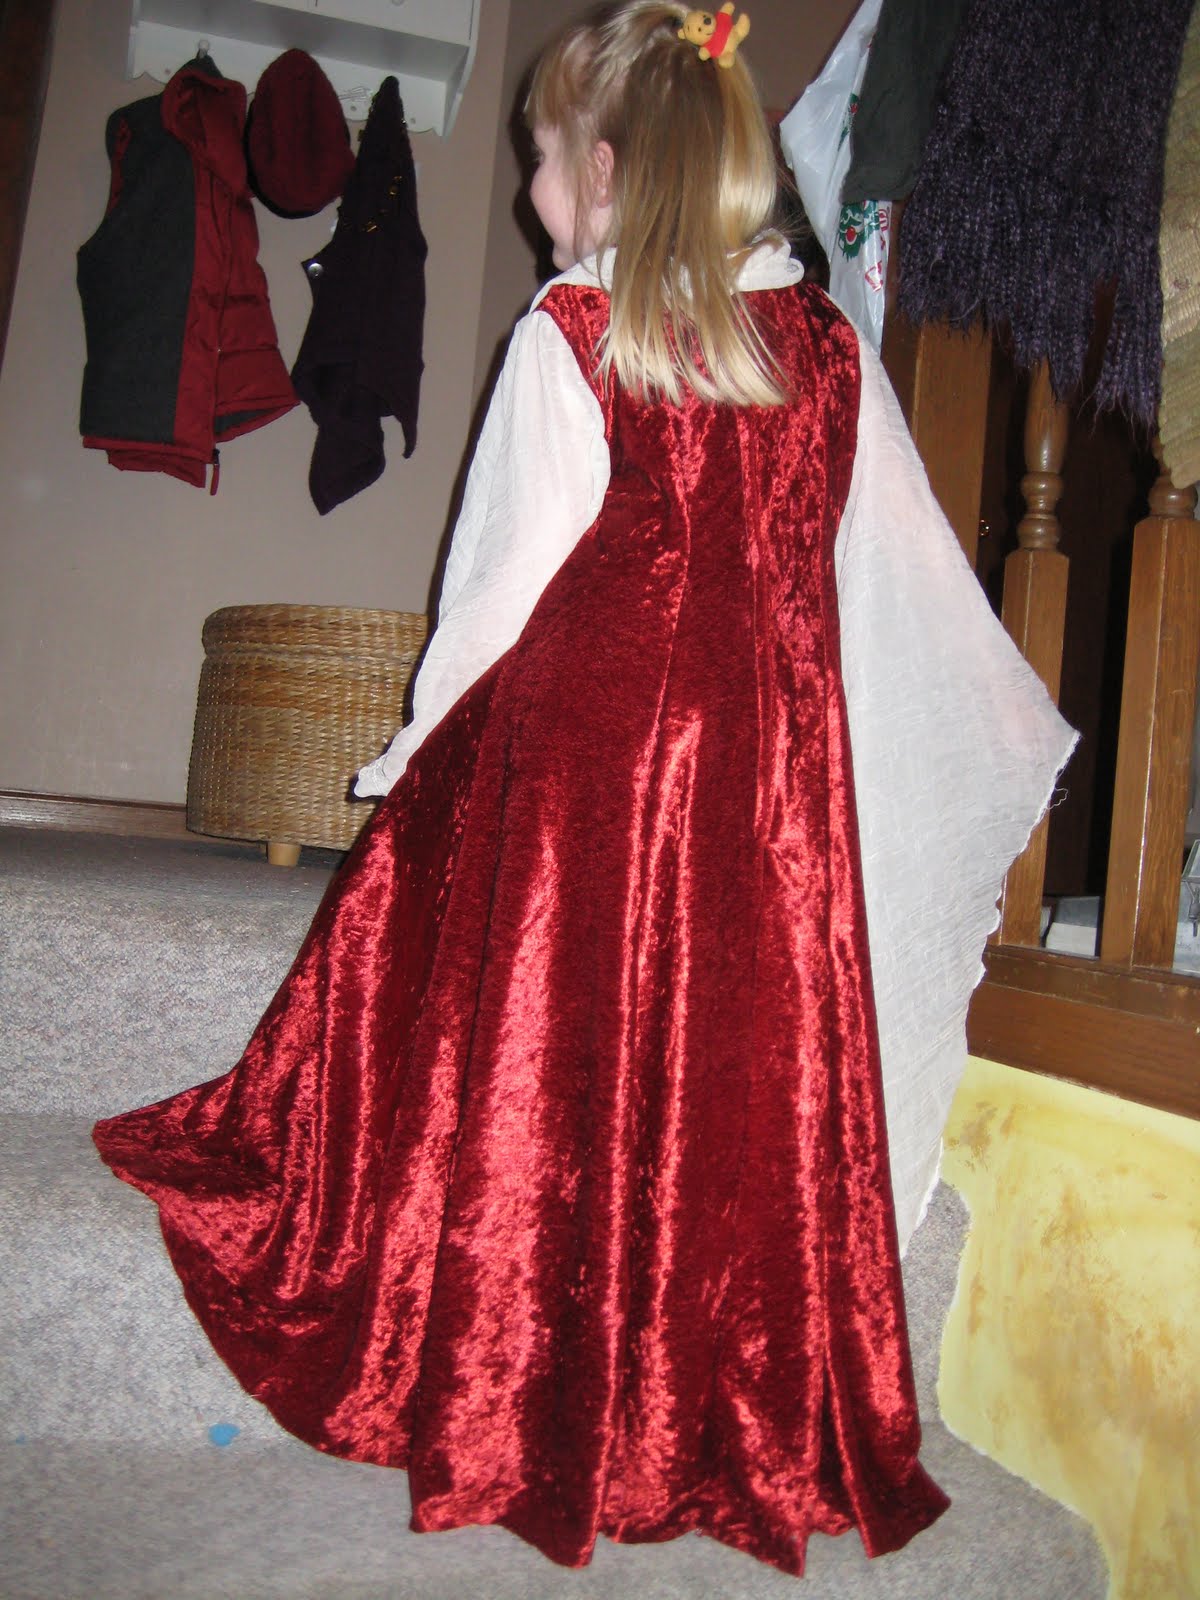
  • Everyone seems to enjoy the sewing projects
  • A few enjoy the photos I share
  • Some people (even though you don't comment. tsk, tsk, tsk :-) read this blog to see what is going on at our house how my life is going etc...  Those are pretty much the people I know in "real" life. :-)
Now my dilemma:I have two passions, and hundreds of hobbies.  How do I keep the blog simple and streamlined while posting about many very different subjects?

Of course, there is the more than one blog option, but that hasn't worked very well.  Not to mention it is slightly annoying to keep track of three different blogs all by the same author.

I mean really....

I bead


I sew and knit and crochet and woodwork and draw and paint play the piano and viola

I bake and cook and clean and organize

I take photos 


Lots of photos...

I'm very involved in my church and school and robotics


I have the most crazily awesome family and friends


And I have JESUS, who makes everything worthwhile.


So folks, I have THE life.

And I'd love to blog it all, but there isn't time or space.

So what do you REALLY want to hear about?

July 25, 2011

Emily's Renaissance Outfit

Cute and she knows it. :-)

Fabric
Shirt: leftover kona muslin form my renn. top
Vest: leftover fabric from a skirt I made a while ago
Skirt: Brown sheet type stuff that was given to us
Grommets we had, elastic we had, and lacing we already had.

All in all, a pretty inexpensive adventure. :-)

Pattern
I made up the skirt, drafted the shirt form a drawing, and made the vest by shrink the ladies vest from Simplicity 3809.


I don't remember the fine detail of the vest shrink, but I measured Emily and then redrew the pattern on paper.  Then I modified some lines and made a mock-up.  It fit well, so I basically followed the pattern's directions for lining the vest and it was done!  I did not put any boning in it, but I did put a double layer of cord in the very front to add stability to the grommets.
For the skirt I sewed 6 rectangle that were each around 17 inches wide together, hemmed it, and made a casing for elastic at the waist.  Simple.
For the shirt I looked at the diagram drawing of the off-the-shoulder blouse in the same pattern (Simplicity 3809).  Basically the front and back pieces are rectangles with the upper corners cut off and rounded.  The sleeves were a full sleeve looking pattern with the tops cut off in a straight line.   I then sewed a casing on the inside and sewed the elastic into it when I sewed the ends together.  So the sleeves were sewn the the "rectangles" and the top edges of everything were turned under to make a drawstring casing. :-)  Clear as mud?  Yeah, I thought so.  Oh for a computer drawing program.  Soon. :-)  Very soon.
I LOVE the way it looks from the back.
Here she is wearing another skirt underneath it and it got bunched up in the back.  I think it actually makes it look nice. :-)


Gathering and arms=not so even
Oh, and don't forget to hem your sleeves and the bottom of your shirt. :-)
Lacing.

Ta Da!

July 23, 2011

Fantasy Princess in Red Velvet ~ January 2010

I made this about a year and a half ago and Emily has worn it many times since, but I never posted about it (that I can remember) so here it is (maybe again).

I used leftover red crushed paine velvet from a costume of mine I never posted about and some ivory/cream crinkle chiffon stuff my mom bought before I was even sewing. :-)  As this was done awhile ago, please excuse the terrible red facing that is always showing above her cowl neck and the not so nicely matched back side. :-)
Simplicity 5520, the view in the lower righthand corner.

Ah!  She is so cute!  She has gotten tall enough now that she doesn't trip on it. :-)
 In Progress
 The Back
(Gotta love the Pooh Bear hairband.)
 Could almost work for LoTR no?

 More recently Emily wore this dress again for her part in a film we were making with some friends.
 Here are some of the "Behind the Scenes" shots of her and Nathanael, who played the prince in this skit.


Grey "Office" skirt for Emily


With the extra fabric from Kara's vest I whipped up this 8 gore skirt for Emily.  Originally the pattern (just one piece) had elastic and was designed for various girly fat-quarters, but I just used enough to make it wearable with a side zipper.  

While we were up at our friends house in WI we were filming a movie and one of the scenes was in an office environment so technically this is a movie costume. :-)  Either way, she loves it. :-)
 back
 bow embellishment

Covered zipper

Whipping up things for Emily has become so much fun and I am getting so inspired by all the mom blogs I read.  They make clothes sometimes for themselves, but mostly for their kids and have lots of great ideas. :-)  With some extra fabric I have I think it would be cool to make Emily some new princess costumes.  The only one I've made her so far is really simple and she loves it. :-)

Greens and Browns Paisley Print Summer Dress

This dress is SO comfortable!  I don't know exactly what the fabric is, but it was on sale at Joann Fabrics and is SO comfortable.  To start things off, I made the dress to big and too short.  Yup.  Lovely.  Oh well!  Like I said, it is super comfortable.  I wear it around the house mostly, and always with a belt to break up the pattern and add some waist definition.

McCalls 6027 view c without the jewel embellishments


The pattern was very straight-forward and would have taken probably around 2 1/2 hours, but I raised the neckline 5 whole inches so I had to change the tops of all the pieces.  That took a lot of time.  Once everything was cut out it went very quickly.


VERY full skirt (and I didn't even choose the version with gores)  and the side.

The back is pretty low.  I'm not sure what I think about that, but I couldn't fix it without a lot of hassle.  I have three cover-ups in that beige color, so there isn't much trouble there.


The day after I made it we went to a wedding, so I was able to wear it.  I also made Emily a skirt with a plain knit waistband.  I is definitely not my best work, but she says it is her favorite, so that is good. :-)

July 19, 2011

Kara's Grey Pinstripe Vest


Hey!  This is Kara.  Kara is a VERY good friend.  In fact, her whole family is like a second family to me.  We were just up there for a week and a half and I was able to finish this vest I started for her a month or so ago.

I used Simplicity 2556, view c with a collar and 2 "pockets"
The grey pinstripe suiting I got on sale at Joann Farbics, and I believe the buttons came form there too...  the vest is lined the leftover pink broadcloth from the underskirt of my Masquerade dress.  The interfacing is far too stiff, but I had it laying around.  She loves it anyway. :-)  She even wore it in the film we made while we were up there.  So my name will probably be in the credits as part of costuming. :-)  Hey, gotta start somewhere, right?


This vest was actually very easy to make.  As usual, cutting out the pieces was the hardest part. :-)  Matching grains and making sure everything is straight is especially hard when I have an obvious stripe. 


Four black buttons... they are actually harder to place than I thought they might be.  Making the button-holes was SO much fun.
Speaking of buttonholes... THIS is a good use for them. :-)  
The "welts"
And the back...
We added a hook-n-eye because my buttons weren't  exactly right... :-)  Shhh!
And the lining...  Both side seams has to be hand sewn so the outside looks good. :-)