
Cute and she knows it. :-)
Fabric
Shirt: leftover kona muslin form my renn. top
Vest: leftover fabric from a skirt I made a while ago
Skirt: Brown sheet type stuff that was given to us
Grommets we had, elastic we had, and lacing we already had.
All in all, a pretty inexpensive adventure. :-)
Pattern
I made up the skirt, drafted the shirt form a drawing, and made the vest by shrink the ladies vest from Simplicity 3809.

I don't remember the fine detail of the vest shrink, but I measured Emily and then redrew the pattern on paper. Then I modified some lines and made a mock-up. It fit well, so I basically followed the pattern's directions for lining the vest and it was done! I did not put any boning in it, but I did put a double layer of cord in the very front to add stability to the grommets.

For the skirt I sewed 6 rectangle that were each around 17 inches wide together, hemmed it, and made a casing for elastic at the waist. Simple.


For the shirt I looked at the diagram drawing of the off-the-shoulder blouse in the same pattern (Simplicity 3809). Basically the front and back pieces are rectangles with the upper corners cut off and rounded. The sleeves were a full sleeve looking pattern with the tops cut off in a straight line. I then sewed a casing on the inside and sewed the elastic into it when I sewed the ends together. So the sleeves were sewn the the "rectangles" and the top edges of everything were turned under to make a drawstring casing. :-) Clear as mud? Yeah, I thought so. Oh for a computer drawing program. Soon. :-) Very soon.
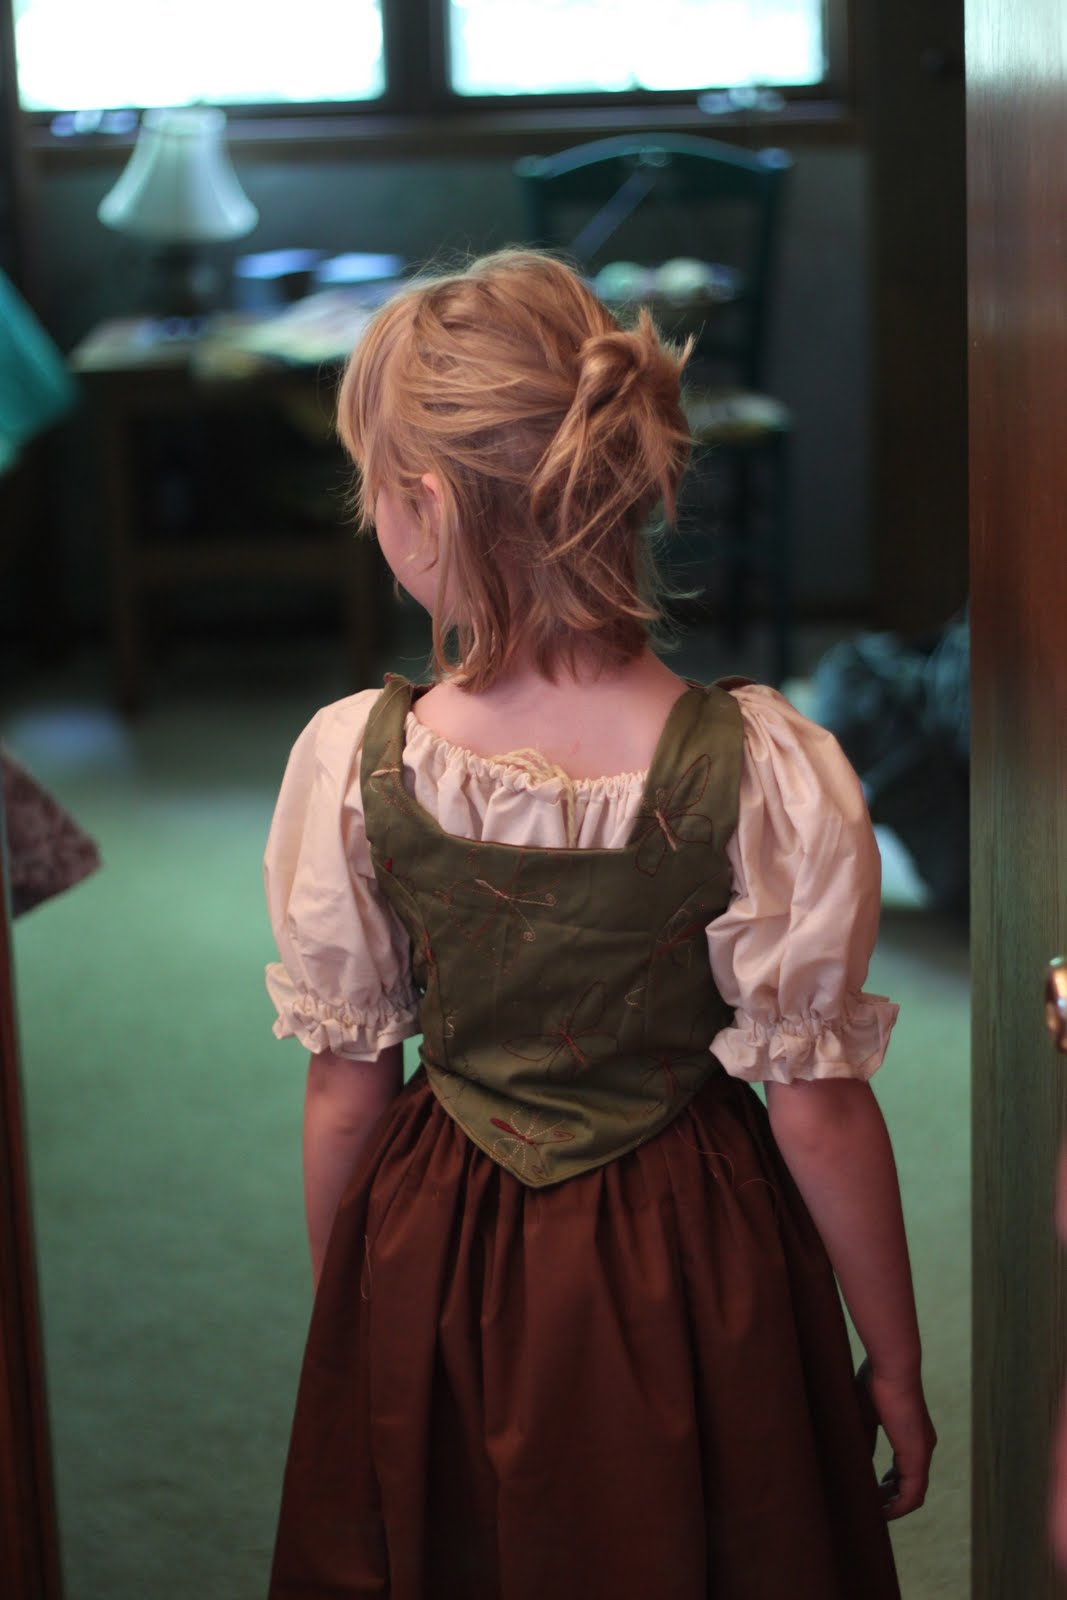
I LOVE the way it looks from the back.

Here she is wearing another skirt underneath it and it got bunched up in the back. I think it actually makes it look nice. :-)

Gathering and arms=not so even
Oh, and don't forget to hem your sleeves and the bottom of your shirt. :-)

Lacing.
Ta Da!
No comments:
Post a Comment