
I was studying for my Biology CLEP last week and needed a break, so I decided I would try making up a dress for Emily with some low-risk material and exercise the creative part of my brain. There is probably 2 feet of snow outside so, of course, the obvious thing to do is make a summer dress. :-)


Fabric: Old drawstring capris and ill-shapen white tee. Both of these were going to be thrown out and donated, respectively, so I figured I couldn't go wrong just experimenting. :-) Here is what I did.

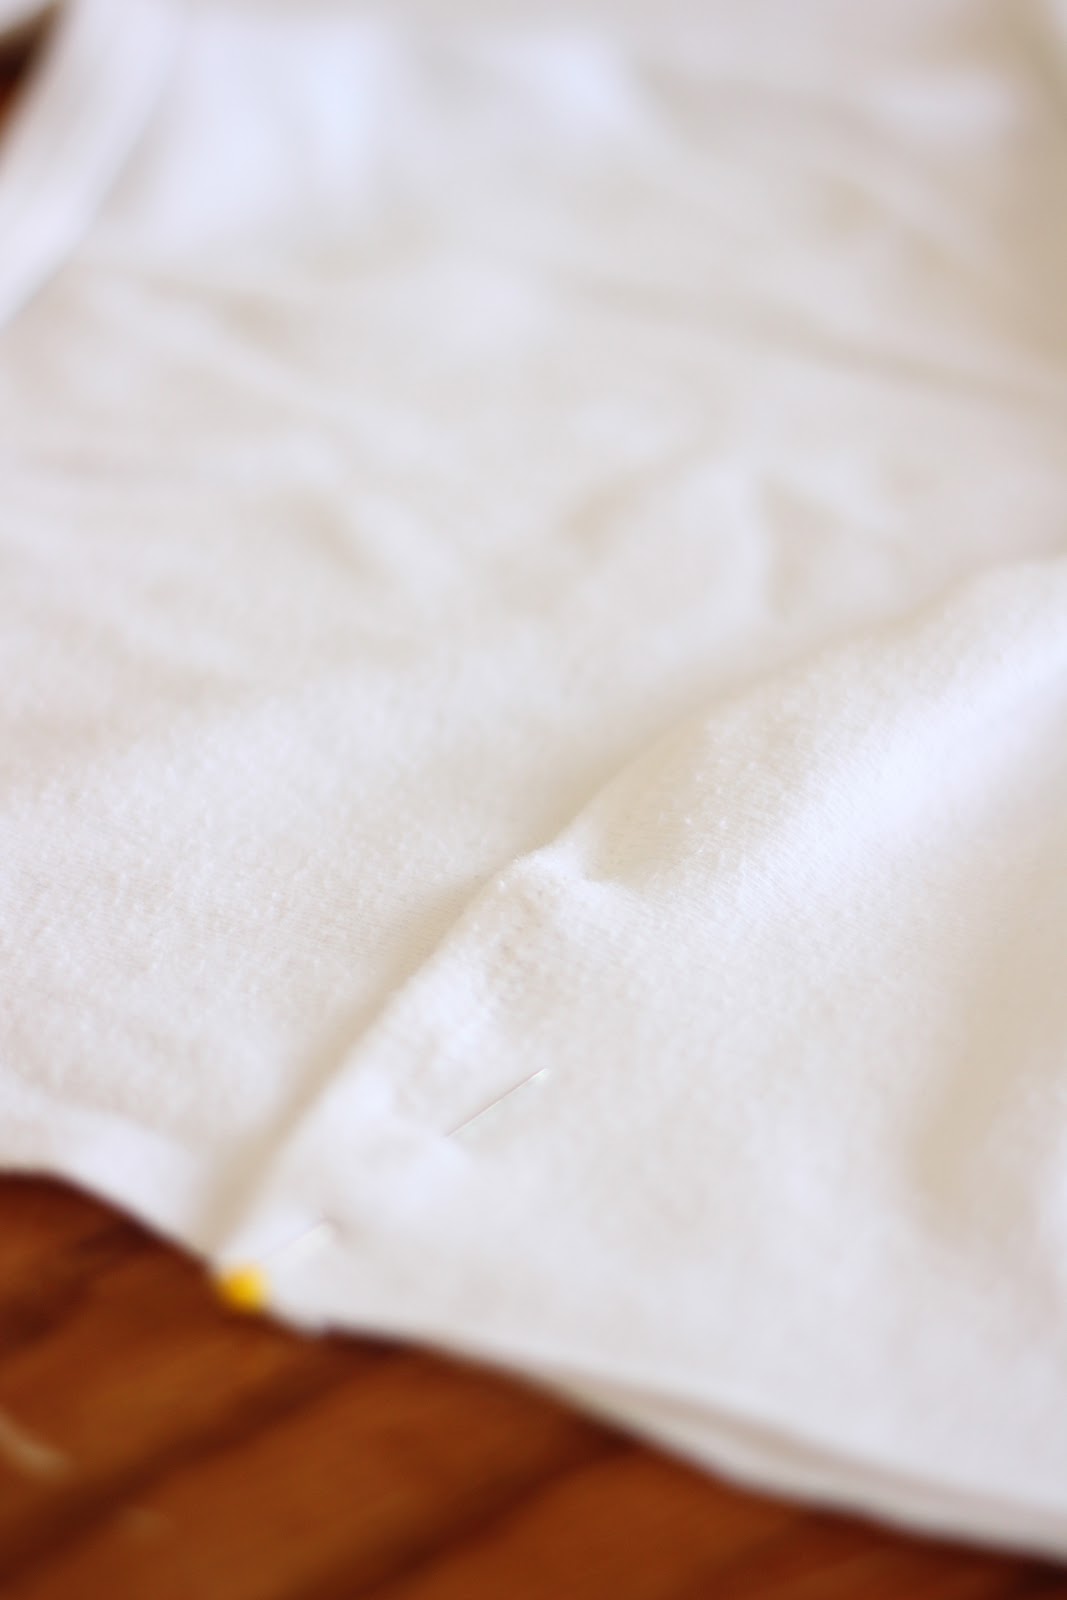
2. Cut. I marked it with pins and just chopped it off.
 3. Find a shirt that fits. Center the shirt over the front so that the necklines and shoulders match up.
4. Cut again! Remember to leave room for seam allowances. I left to much room, so the whole dress is a little roomy, but hey, it's my first refashion like this. Summer play dresses are supposed to be comfortable to run and twirl in, right?
*Don't cut the top at all. Leave the neckline and shoulder seams intact.


5. Make cute front details. :-) Remember that section we chopped off the bottom of the shirt at the very beginning? Cut a piece out of it the same (or a little bigger) width of the shirt front and shorter than the edge below the armhole. Does that make sense? You don't want it caught in your sleeves or waist seam. Hem the top edge.

The I took a small piece and just sewed it in a circle and slipped it over the middle to gather the panel. 6. Pin it to just to the front the way you want to see it when the dress is done.

7. Fold the back over the top inside-out style (right sides together) and sew up the side seams to the armhole.
8. Add decorative back tie.


I used another scrap form the shirt and arranged it in a "V" shape on the right side of the back, then sewed along the edge. This is your facing.


Then cut the "v" out and turn the facing to the inside. I then topstitched the facing down, cut off the extra, and topstitched a tie from the original capris along the edge. Ta da! Presto tie-o!


9. Cut sleeves. Use the original sleeves that you cut off of the shirt. Line your shirt from earlier up with the folded edge at the top and the shoulder seam. Cut! Remember seam allowances.

Finished shape. It is all nice and neatly hemmed for you as well!
10. Decorate a sleeve! I wanted to include more red into the top, so I decided to add a reverse applique heart to the right sleeve. It is my (and Emily's) favorite part! She like playing in the dress, but she LOVES the heart. I see some more of this in my future. :-)


a. On WRONG side of red fabric scrap draw a heart.
b. Place scrap on WRONG side of sleeve in the middle with drawing up.
c. stitch on line. I did it twice.


d. Flip sleeve so that the RIGHT side is UP
e. Cut the SLEEVE fabric, and only the sleeve fabric INSIDE the stitching. 
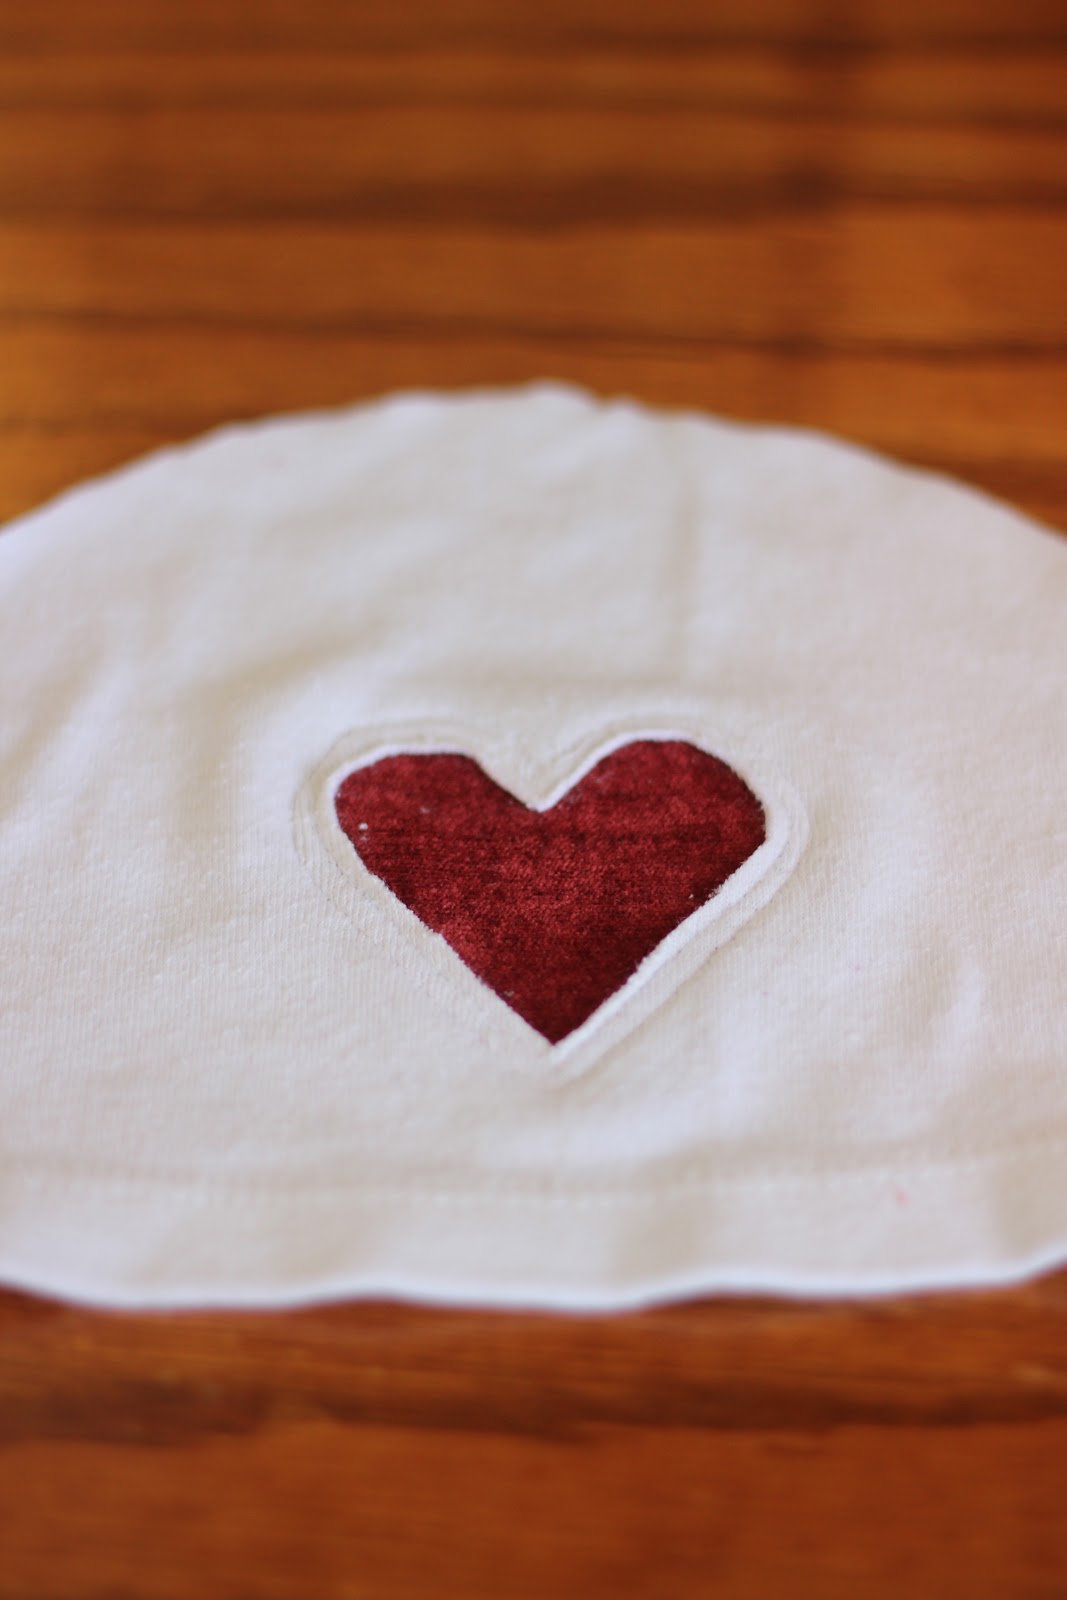
f. Enjoy your crazy awesome heart!
11. Sew the inside/bottom part of your sleeves with right sides together.
12. Sew the sleeves on the top! I haven't the brain power right now to describe how to insert a sleeve, but any pattern that has you sew sleeves on is bound to lay it out quite clearly. ;-)


Now for the skirt!
13. Measure again! This time you want the waist to hem measurement. Chop it off!
14. Cut the inside/crotch seam open.


15. Using the pieces of the pant legs you cut off fill in the front and back slits created by your cut in step 9. Pin, and sew.

16. Sew the skirt to the shirt! Ignore the elastic in the above photo. It was way to bulky and uncomfortable, so I cut it off and instead sewed a couple rows with elastic thread in the bobbin to gather the skirt up.
17. Hem it, and you're done!


I love that heart!


There is a bit of a blizzard today, so obviously we did get fun playing outdoors pictures. I've made two spring dresses for myself recently, but I don't want to post snow pictures with me in them, so I guess those posts will just have to wait?
Great job! So cute!!
ReplyDeleteReally awesome for an experiment ! I love the bow in the front and the heart ! Now all I wish is that my niece was living closer from me (she's living in Benin !)
ReplyDeleteBlessings !